


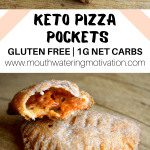
Keto Pizza Pockets ! That's right.
I haven't had pizza pockets for years but the idea for these had been buzzing around in my head for so long. I had been dying to try making Keto Pizza Pockets..
And let me tell you.. I attempted it. More times then I am willing to share, lol.
But thankfully, trial and error is beneficial and I finally achieved a recipe I happy to post!
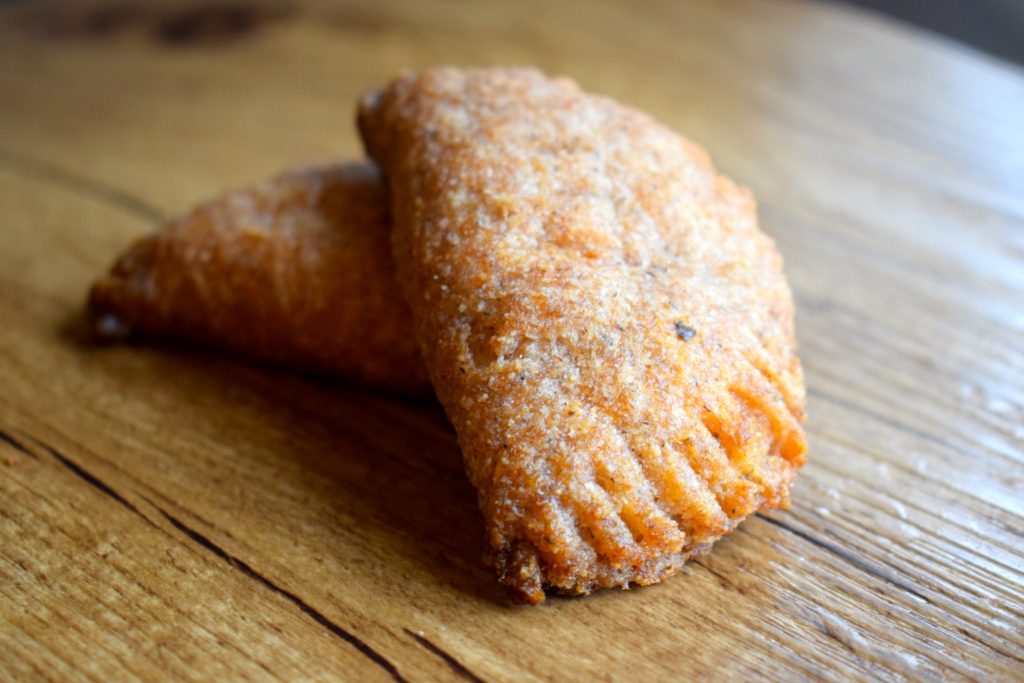
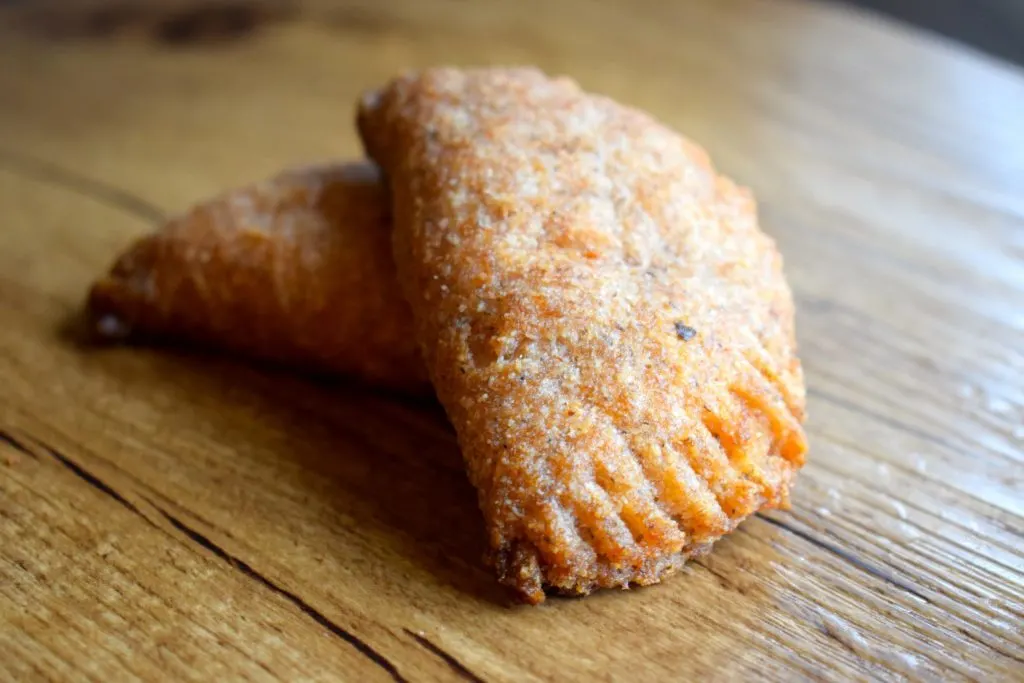
These little pizza pocket babies are gluten free and made mainly with a combination psyllium husks, xanthan gum, almond flour and coconut flour.
They are actually very simple to make so don't let the folding in the instructions scare you! Once you have this recipe down..you'll be able to make anything! This dough is super versatile. You can find the original recipe for the dough PLUS a non-gluten dough dough option here.
If you are not gluten intolerant or celiac.. I HIGHLY suggest you try the gluten version of this dough first and form the keto pizza pockets just as you would with this dough below. (*The gluten version is also keto-friendly)
Both versions of the dough are delicious and I will make either depending on the ingredients I have but I will say that the vital wheat gluten version is a bit “flakier” like traditional puff pastry if that's what you are going for. Other-wise this gluten free dough is still fantastic as it rises and has beautiful pockets of air throughout to make it light, crispy and buttery!


Can I Freeze Keto Pizza Pockets?
Yes! You can either freeze the dough itself after you are done folding it in step 8, just wrap in Saran Wrap and place in a ziplock bag.
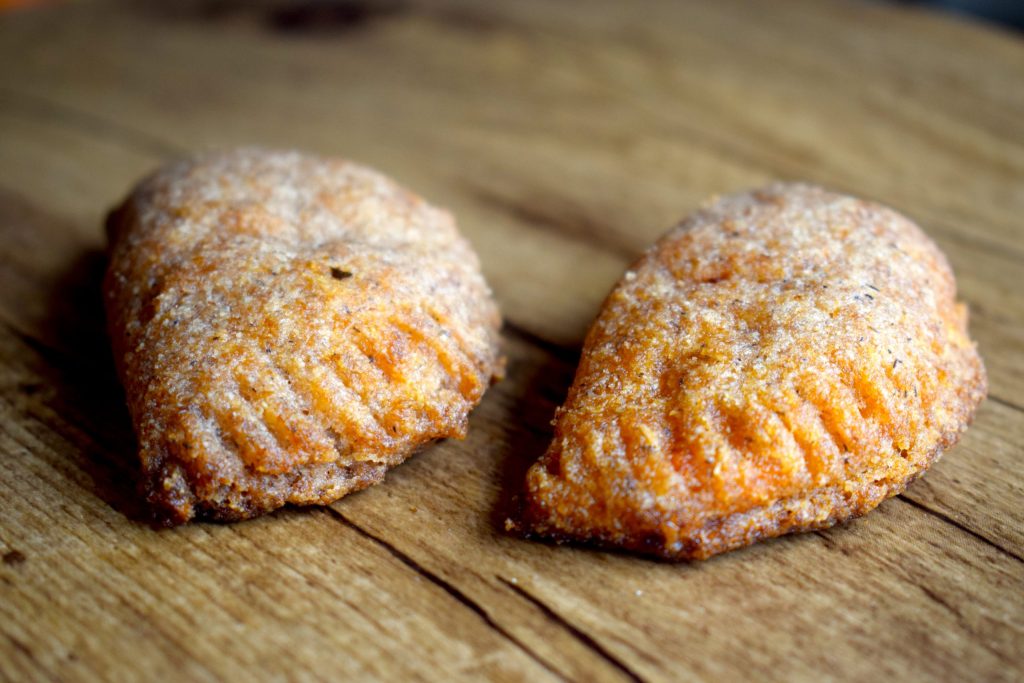
OR you can freeze the pizza pockets themselves once you've formed them by placing them on a parchment line tray and freezing flat, then transferring them to a ziplock bag lined with some wax or parchment paper and bake them off from frozen, just be sure to add an extra minute or two to the baking time.

Can I Re-heat Keto Pizza Pockets?
Yes! You can either re-heat them in an oven at 400*F OR in the microwave until hot!


Ingredients In Keto Pizza Pockets
- Xanthan gum – a great way to improve elasticity in gluten-free baked goods. It’s used alongside vital wheat gluten to provide the best possible “crust-like” texture. If you do not have this ingredient you can still go ahead with this recipe but I’d recommend it if you can get your hands on it.
- Almond & Coconut Flour – I use the Kirkland Costco brand of almond flour (I buy it in bulk on Amazon or at Costco itself occasionally) and this brand of coconut flour for this recipe. As I’ve noted in many of my past recipes, the brand of almond and coconut flour can affect the final outcome of the recipe because absorbency can vary depending on how the flour has been processed.
- Psyllium Husks – This is used in the gluten free pastry to replace vital wheat gluten. It acts similar as it helps the dough to create gluten-like strands.


Tools I Used To Create Keto Pizza Pockets
- Low Carb Substitution Guide – This is totally optional but if you like my recipes, I now have a $5 guide available with all of the substitutions I use to create every recipe on my site. You can use this to convert old traditional recipes and create new keto recipes! You can purchase it here and/or read more if you are interested. 🙂 I appreciate your support so much guys!
- Nutritional Food Scale – AKA my best friend. This little buddy has been with me for over 4 years and never fails. Perfect measurements and only needs the batteries replaced maybe once a year!
- Non-Stick Rolling Pin – I didn’t use this one originally for the recipe but I highly recommend it so you don’t have to constantly flour your surface and roll the dough out with wax or parchment paper!
- Wax/Parchment Paper – Makes it easier to roll out dough that’s sticking to your rolling pin.
- Saran Wrap – To wrap the dough for chilling

Tips For Making Keto Pizza Pockets
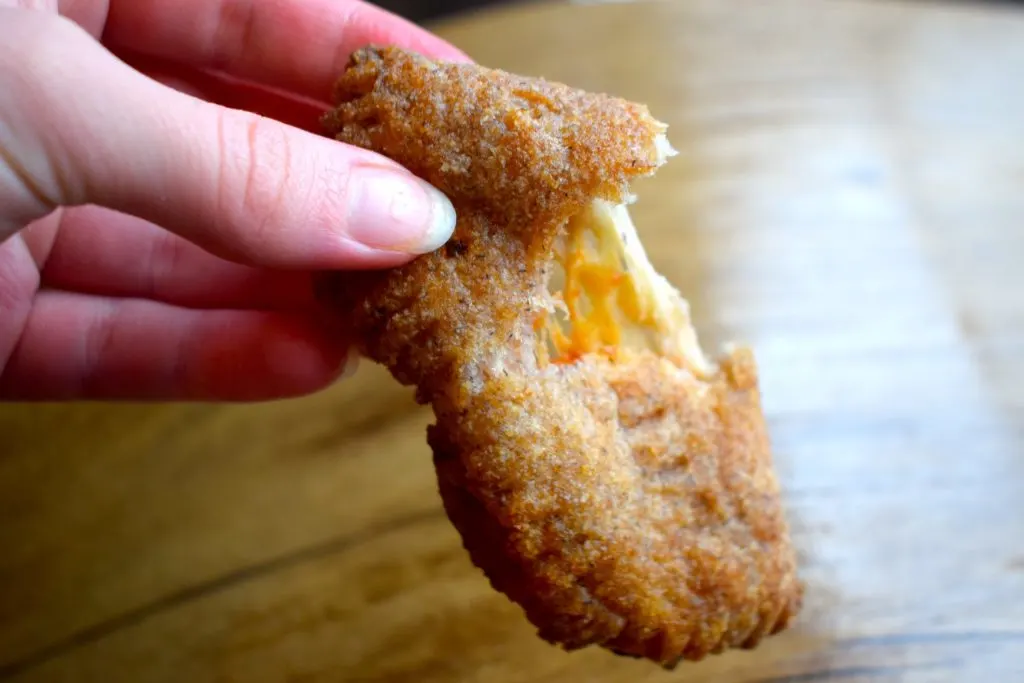
- Make sure you pinch the edges of the pockets well and don't over-do the sauce or you'll end up with some leakage! I serve these with extra sauce instead!
- You’ll notice the dough will want to fall apart in chunks at first. This is why the dough must be kneaded a few times. Once you do so, the dough will come together nicely and will roll out much better! Just be sure not to melt or blend in all of your butter when kneading it.
- Your dough should seem a little dry at first but once you get rolling it, the butter chunks should moisten it more. If you find your dough still very dry, you can sprinkle a bit of cold water on it as needed to add moisture OR alternatively if you find it too wet, sprinkle coconut flour as you are rolling and folding it.
- If your dough rolls out messy and looks rough at first, that’s completely fine, sprinkle flour as needed and continue to follow the folding instructions. It will start to smooth out more after each layer. You can also push in rough edges slightly before rolling to help it come together.
- The gluten free pastry will brown more in the oven than typical pastry but that’s okay! It will still be delicious. It’s just the colour of the psyllium husk added.
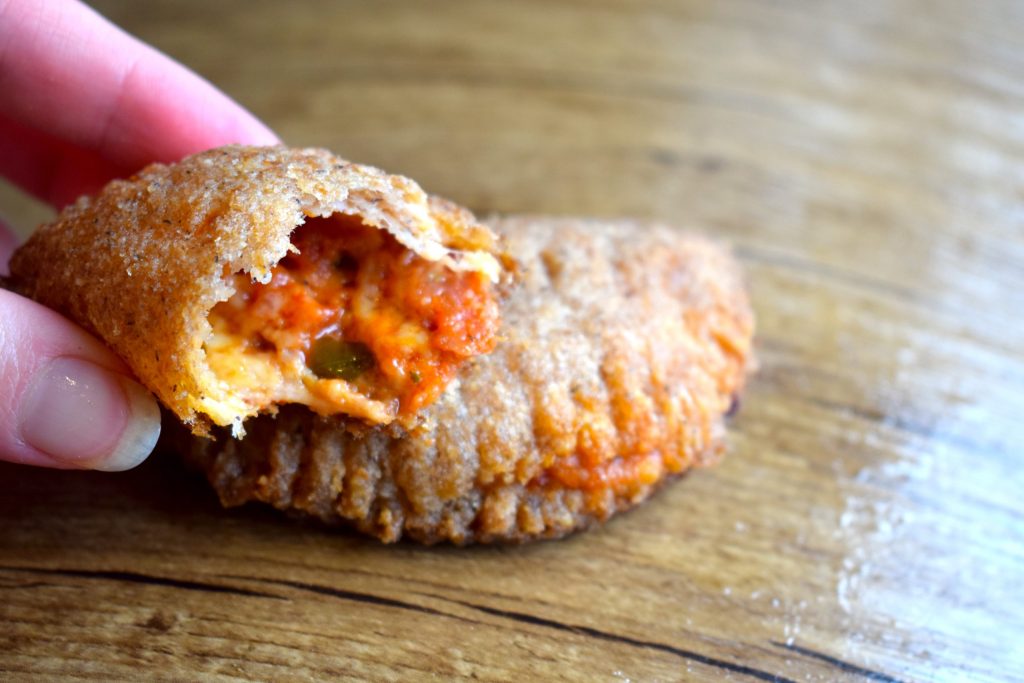
Keto Pizza Pockets
Serves 8
Ingredients:
Pastry Dough
- 5 tbsp whole psyllium husks, 26g
- 1/4 cup almond flour, 30g
- 1 tbsp coconut flour, 7g
- 1/4 tsp baking powder
- 1 tsp xanthan gum
- 1/8 tsp salt
- 125g butter cold
- 1/2 cup cold water
- 1 egg white
- 1 tsp Italian spices (optional)
Fillings:
- 3 tbsp low carb pasta sauce, 45g
- 1/2 cup mozzarella, shredded, 60g
- ~1/4 cup parmesan, grated (optional), 20g
- 16 pepperoni slices
- additional sauce for dipping
Directions:
- Add your dry ingredients to a food processor and grind until everything is a fine powder (if you do not have a food processor you can definitely still make this recipe, your dough may just be a bit more textured)
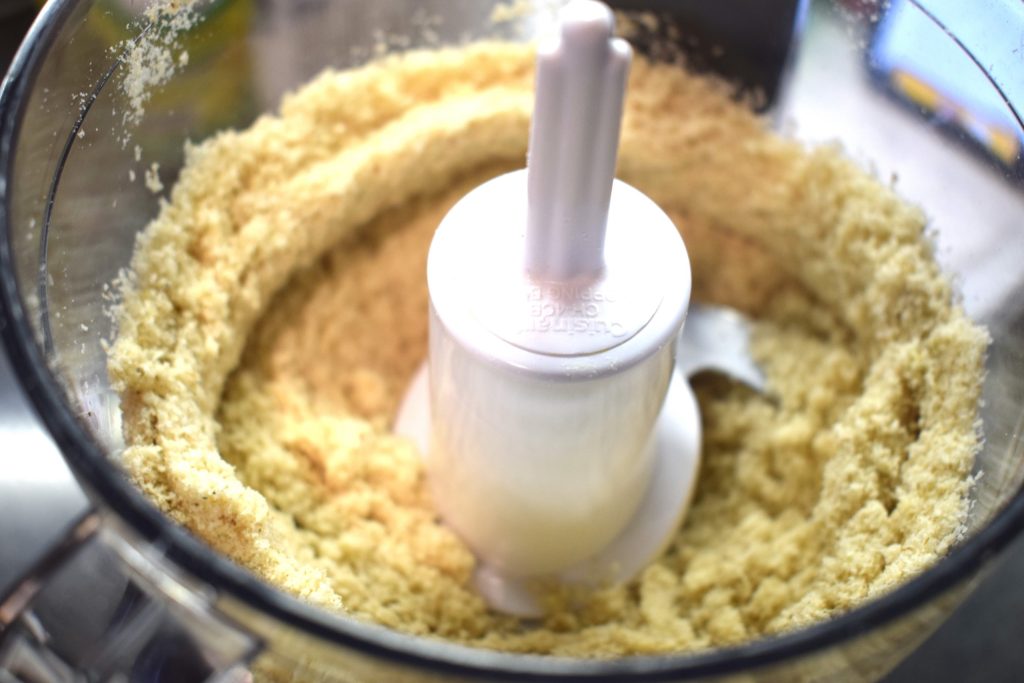
- Next add in chunks of butter (roughly chopped, doesn't have to perfect) and pulse a few times until the butter chunks are a bit smaller and coated with flour but still visible. (again doesn't have to be perfect, if you don't have a food processor, just chop the chunks ~1/8th of an inch thick and and stir them into your dry ingredients).
- Dump this mixture into a bowl and add your cold water and egg white. Mix with a spoon until a rough dough forms.

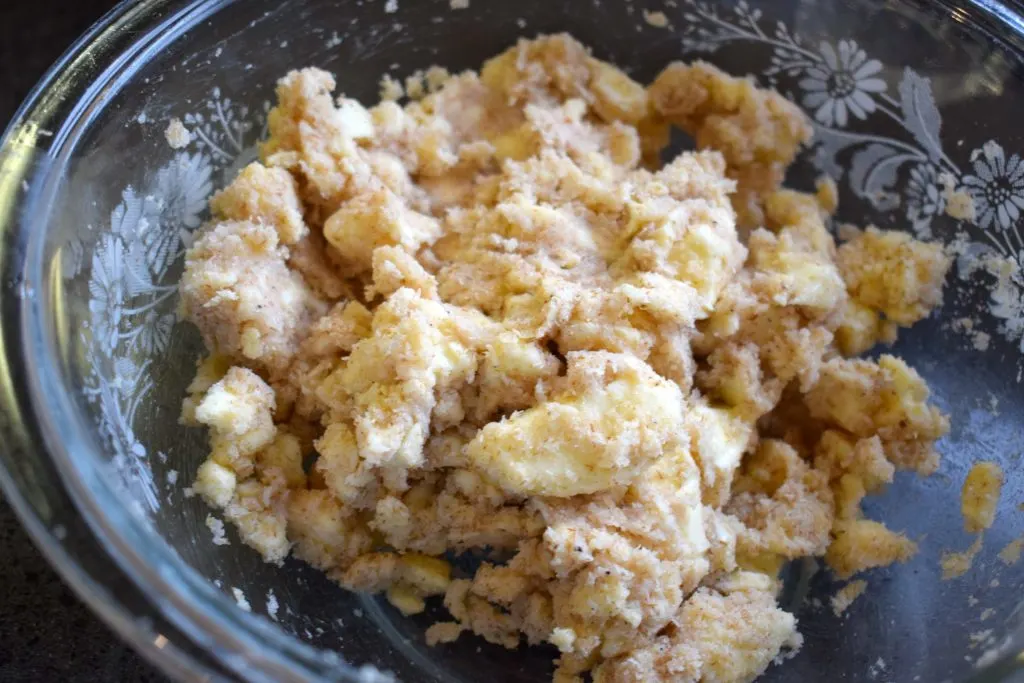
- Press the dough together and knead it a few times until it starts to stick together (you don't want the butter chunks blended in but you also want the dough to hold together without crumbling and have a smoother surface).
- Press the dough into a rough ball shape, wrap it in Saran Wrap and place in the fridge for 30min.
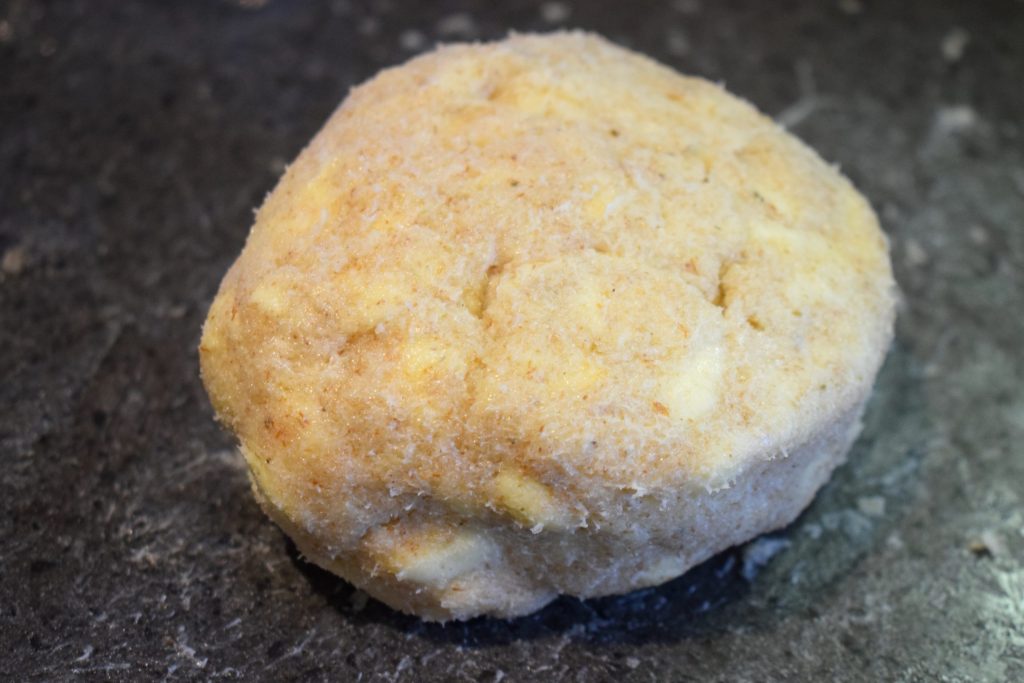
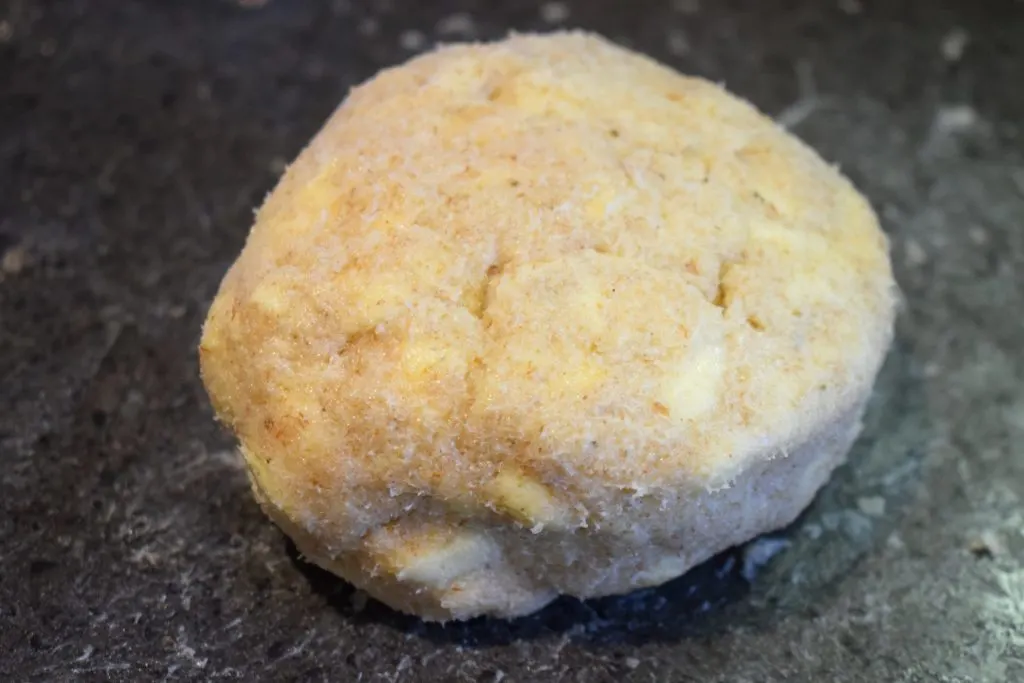
- Next unwrap your dough and roll it out flat between two sheets of parchment paper. (Flour your parchment and rolling pin lightly with coconut flour, repeat this whenever needed, alternatively for the vital wheat gluten version you can use that to flour your surface)

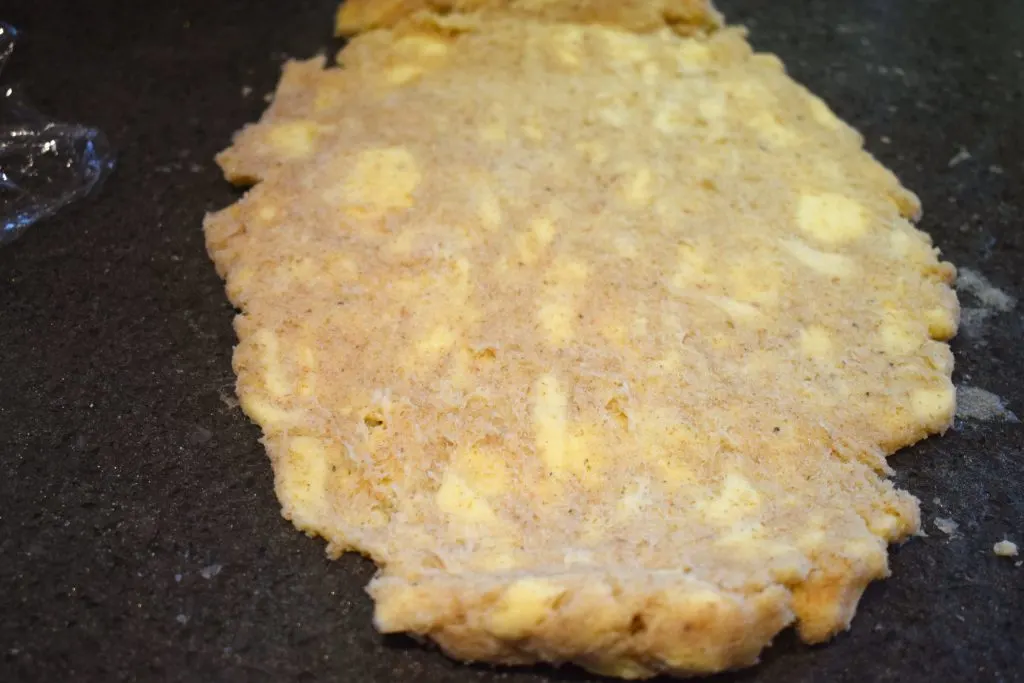
- Fold each side of the dough inward (see photo), then turn the dough 90* and roll it out flat, squishing down the folded layers you just made. Then once again, fold each side inwards, turn 90* and roll it out flat. You want to repeat this 4-5 times to ensure layers of butter are spread throughout the dough. It will start off very rough looking but don't worry about that! Just push the rough edges in a bit and continue repeating the process until it looks more uniform. ( If at any time your dough feels warm, place it back in the fridge or freezer for a bit to get cold again. You don't want your butter to melt).

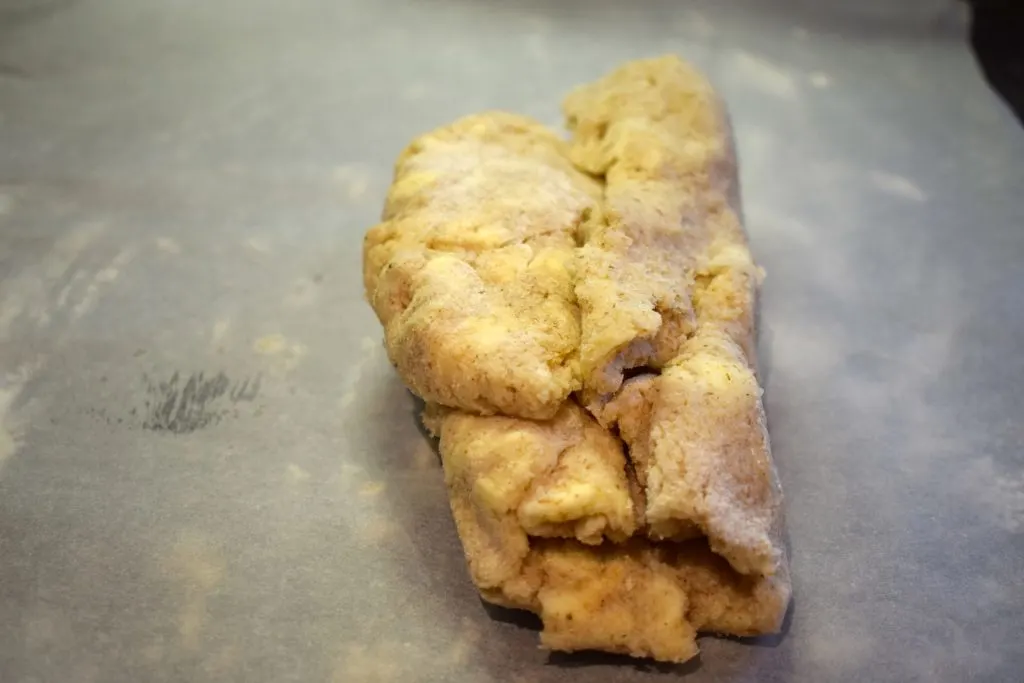
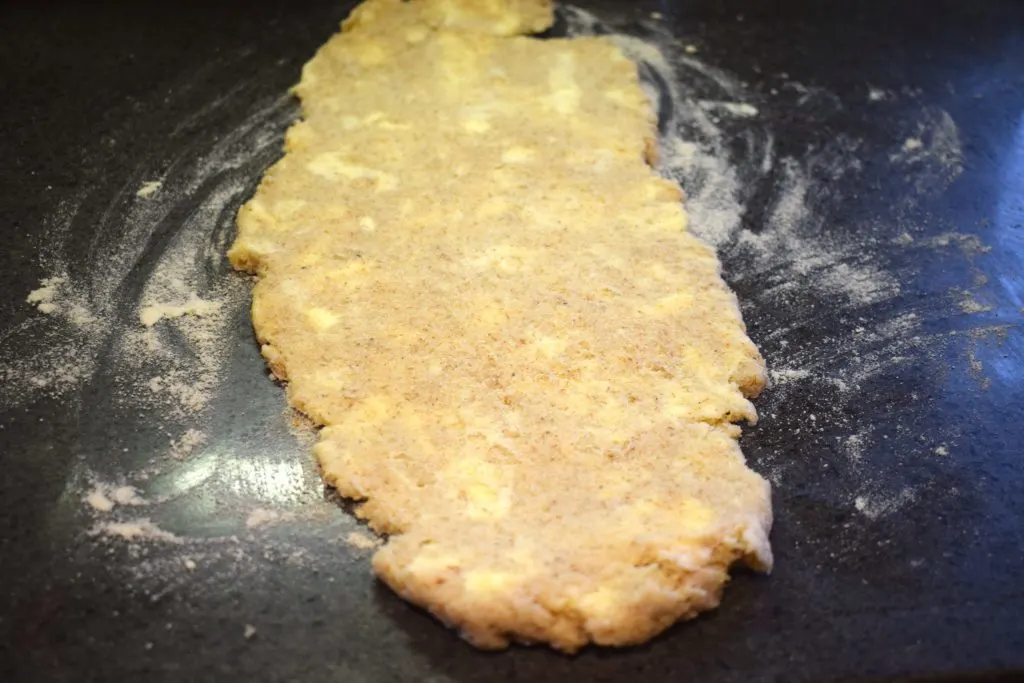
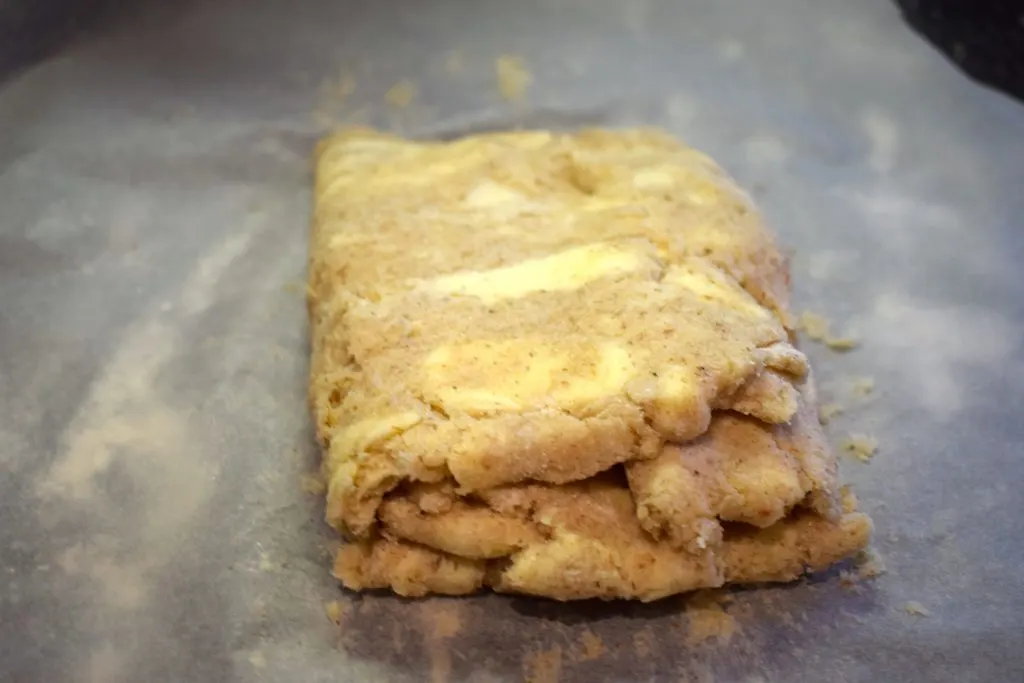
- After you've rolled the dough out 4-5 times following step 7, fold it once more, Saran Wrap it and place it back in the fridge for another 30min.

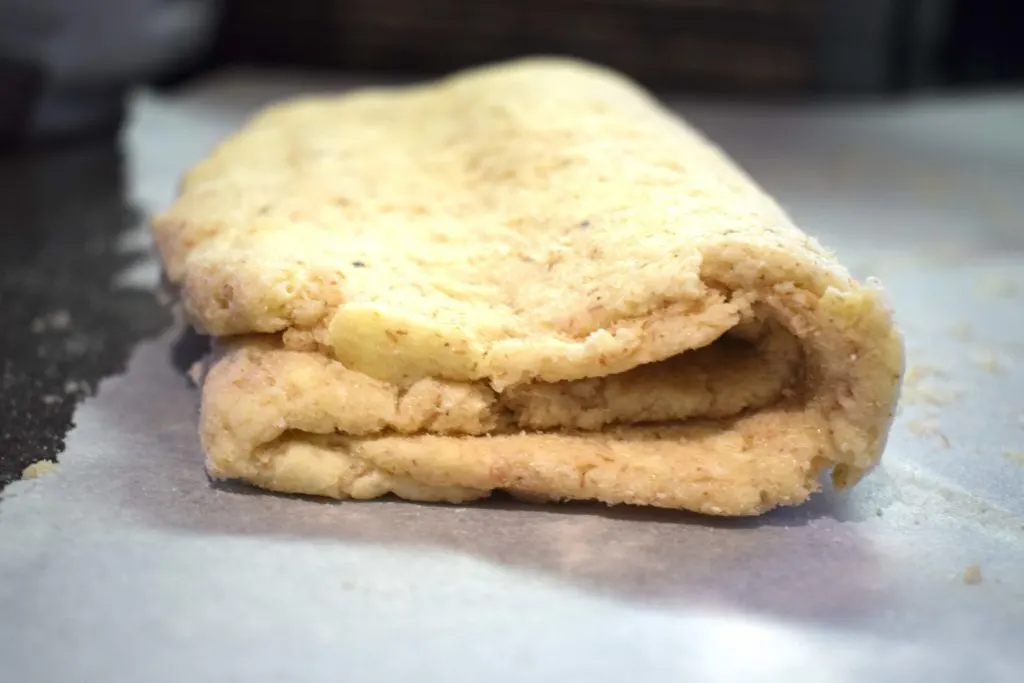
Keto Pastry Dough After Rolling and Folding 4-5 Times
- Pre-heat your oven to 400*F.
- Roll the dough out again, it will be a bit thick at this point. I usually cut the dough in half and place half, wrapped, back in the fridge so I only have to work with one piece at a time. This makes rolling it thin much easier!
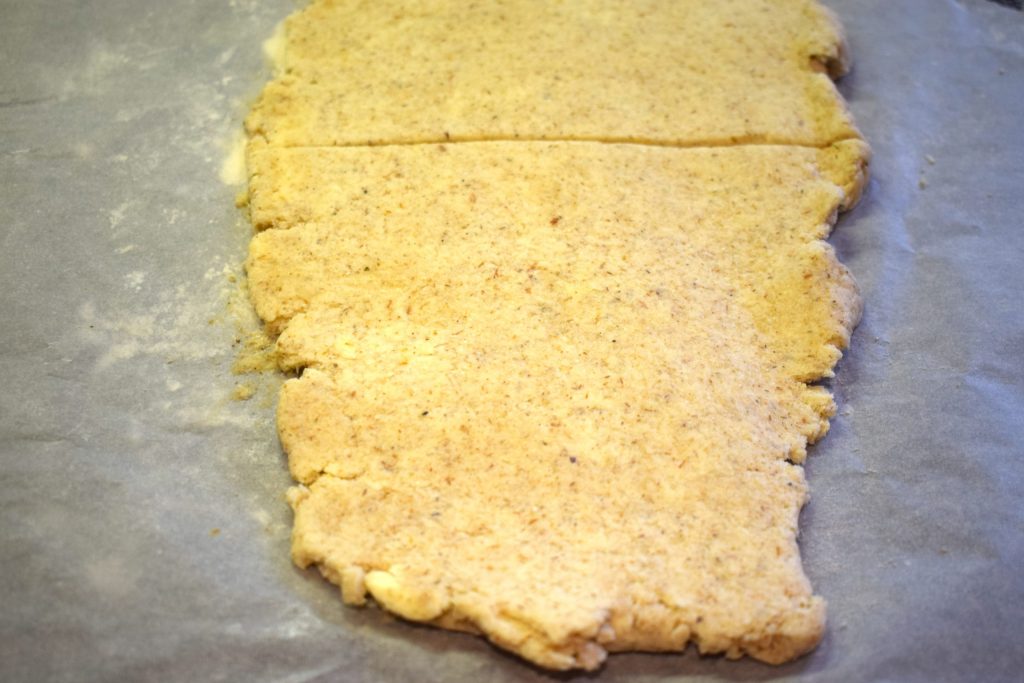
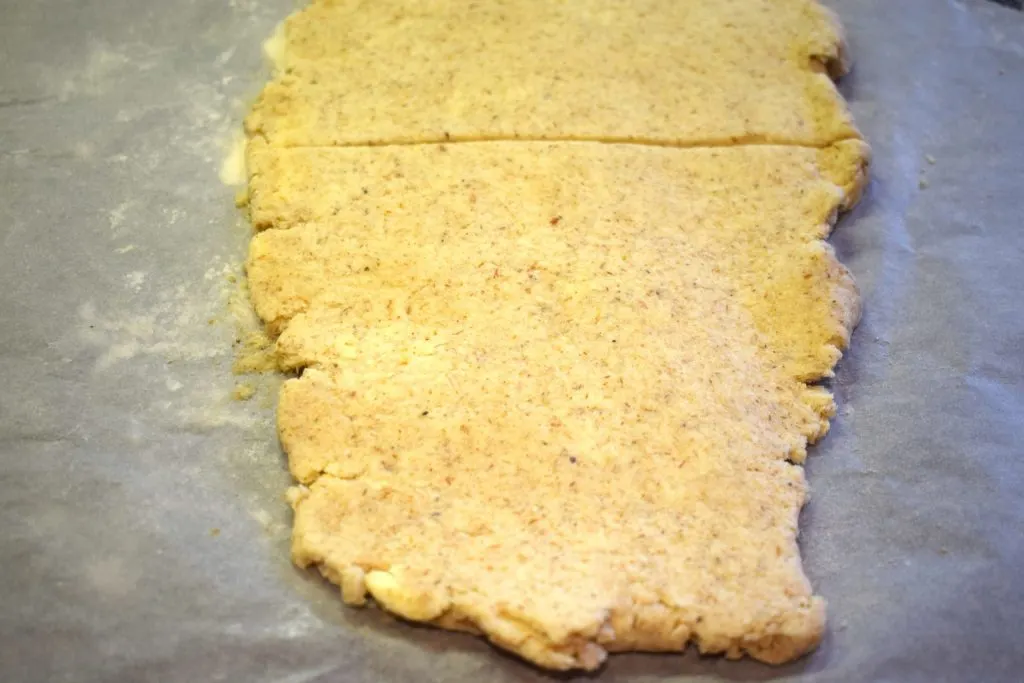
- Next, cut circles of dough using a large mug. Punch it down and twist to make an even cut. Place the cut-outs on a baking sheet lined with parchment paper. Repeat this process with the other half of your dough in the fridge and then taking the scraps of your dough and rolling them out again to make more circles.
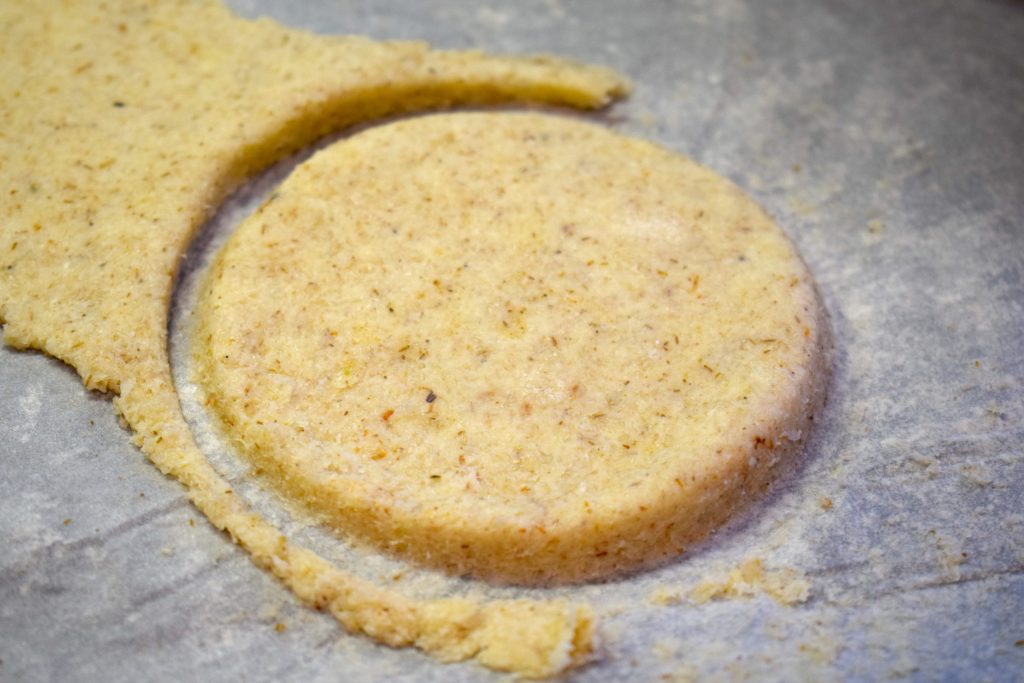
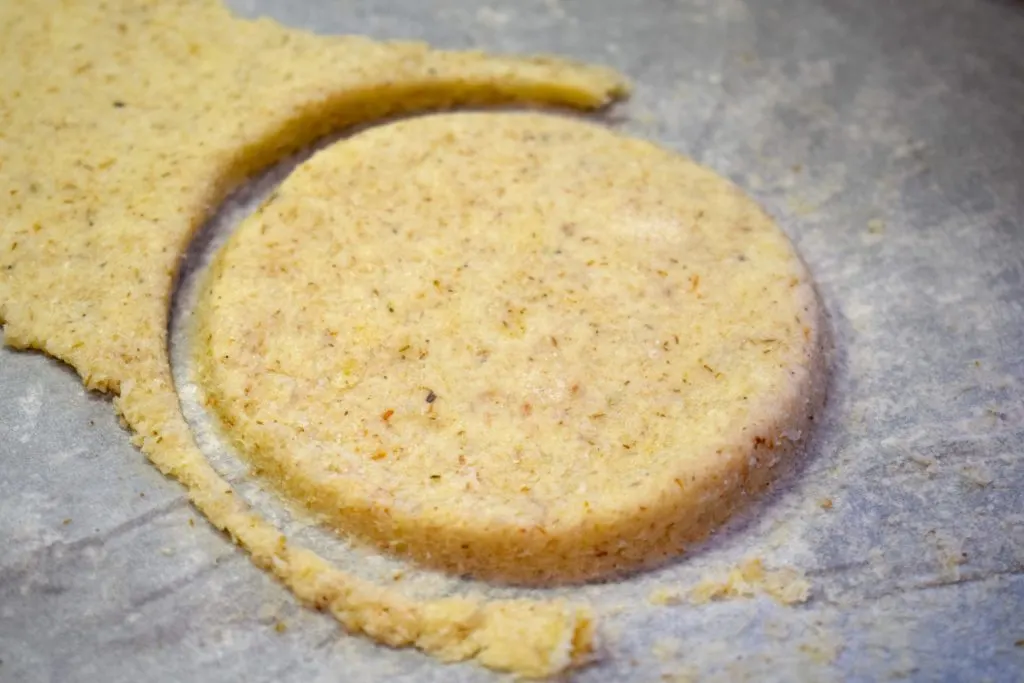
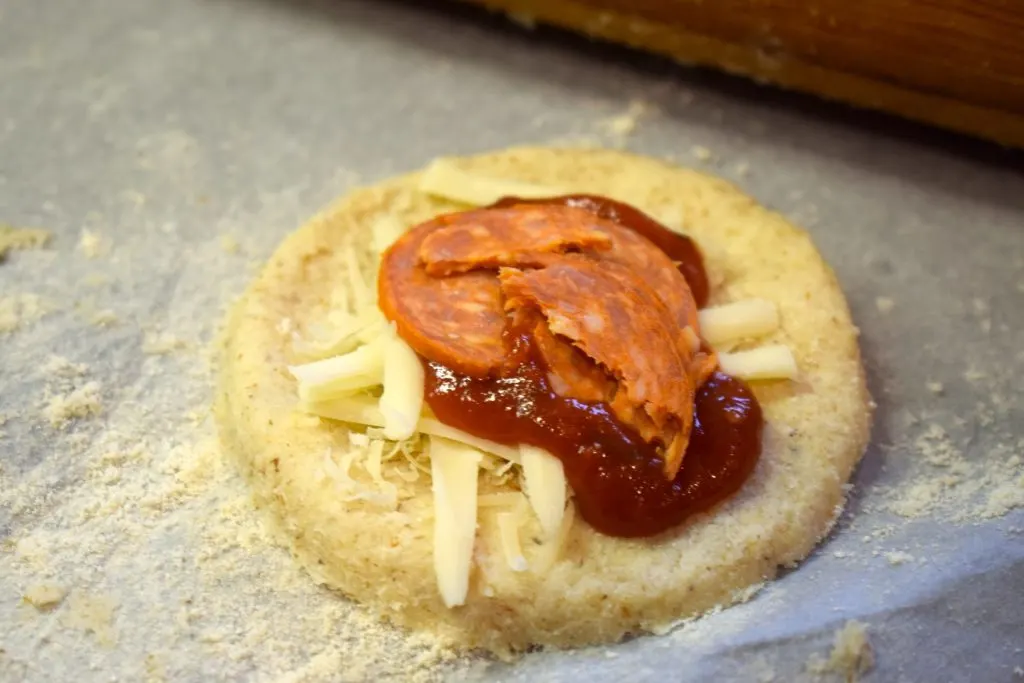
- Place a small amount of mozzarella, parmesan and sauce in the middle of each circle and then take one half of the circle and fold it in half. Press down the edges with your fingers first then use a fork and do the same.


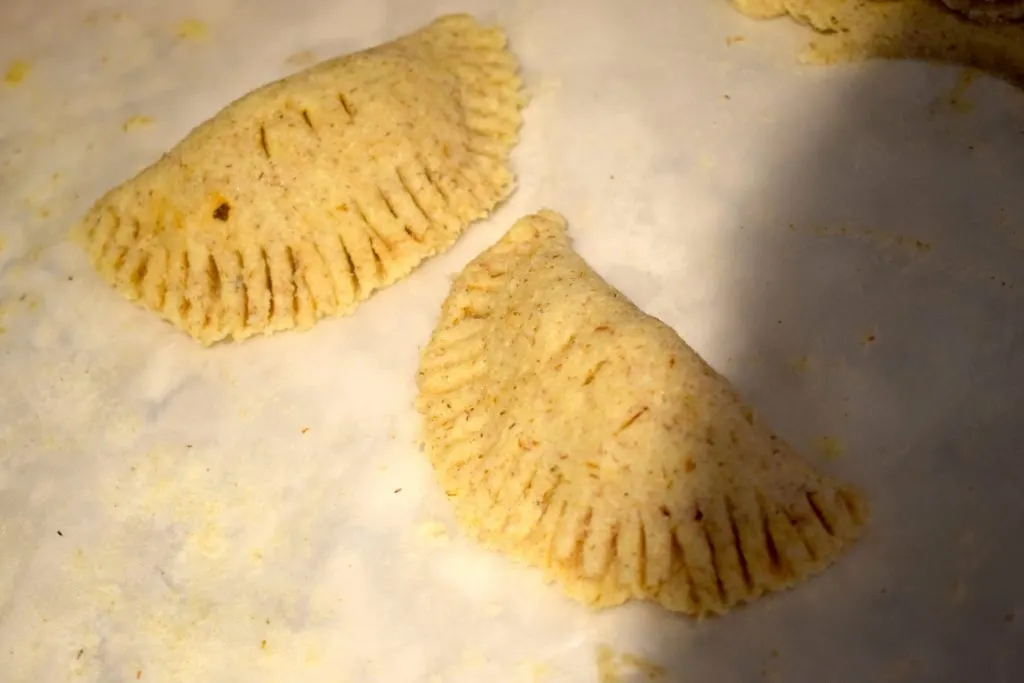
- Cut 3 very small slits into the top of each pocket to let the air escape. Brush them with an egg wash (optional, just 1 egg mixed whisked with 1 tbsp water) and bake them for 18-22min or until they are browned and crispy. (Note: my oven typically takes longer than the average oven and mine baked for 21min)

- Serve them hot with extra pasta or pizza sauce for dipping! (They are also great with ranch dip…) Enjoy!
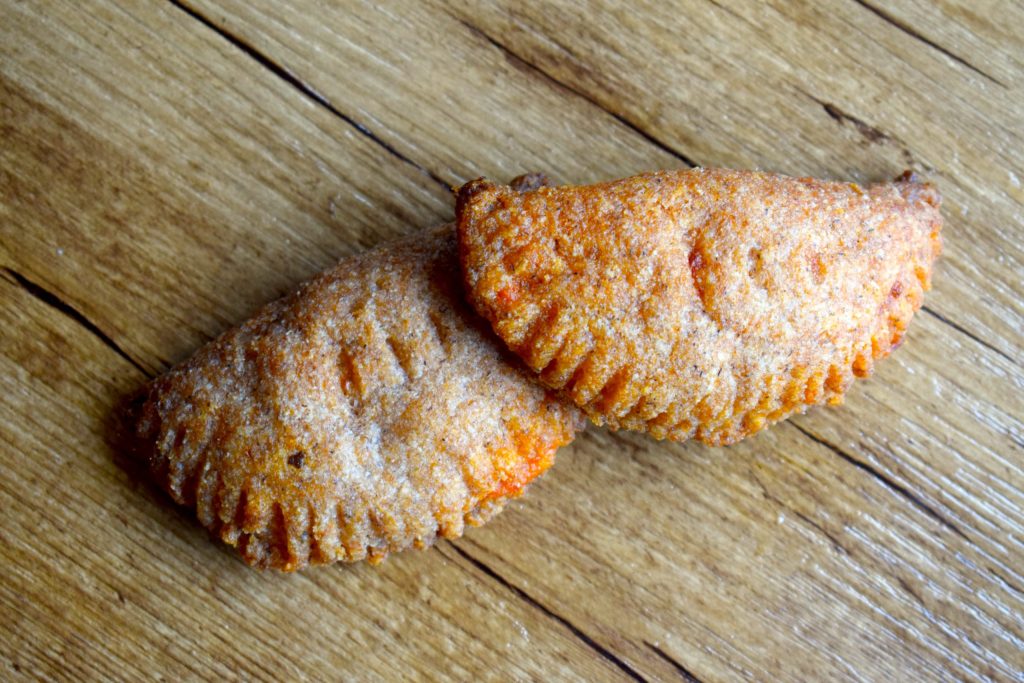


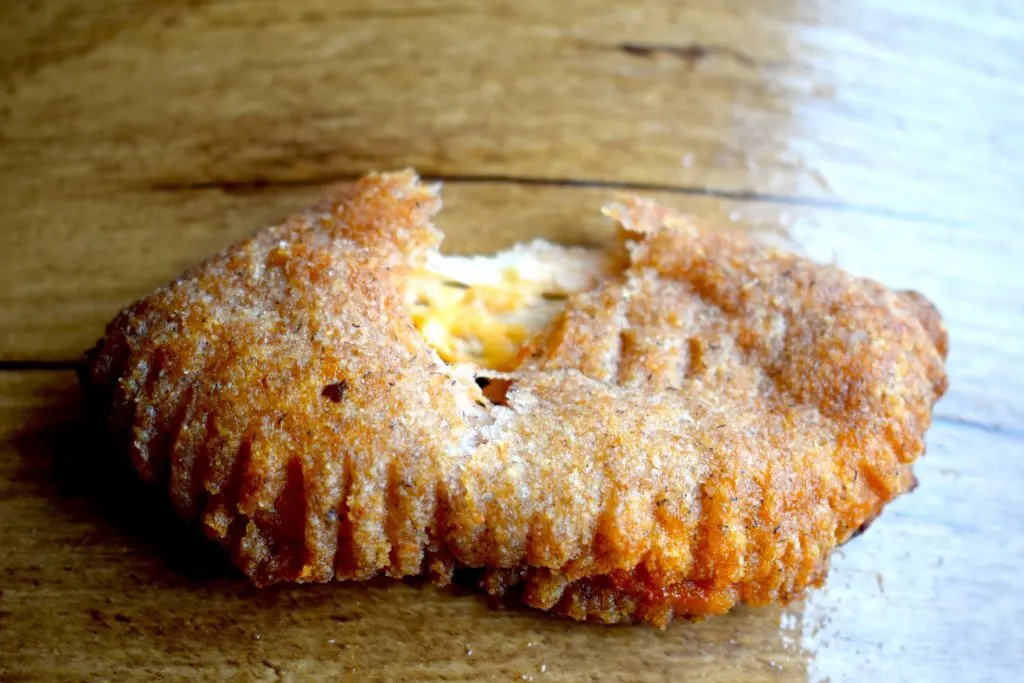
Nutrition for one pizza pocket (1/8th of recipe): 179 calories | 18g fat | 1g NET carbs | 3.3g fibre
Disclaimer: This post contains some affiliate links
Keto Pizza Pockets
Ingredients
Pastry Dough
- 5 tbsp whole psyllium husks 26g
- 1/4 cup almond flour 30g
- 1 tbsp coconut flour 7g
- 1/4 tsp baking powder
- 1 tsp xanthan gum
- 1/8 tsp salt
- 125 g butter cold
- 1/2 cup cold water
- 1 egg white
- 1 tsp Italian spices optional
Fillings
- 3 tbsp low carb pasta sauce 45g
- 1/2 cup mozzarella shredded, 60g
- ~1/4 cup parmesan grated (optional), 20g
- 16 pepperoni slices
- additional sauce for dipping
Instructions
- Add your dry ingredients to a food processor and grind until everything is a fine powder (if you do not have a food processor you can definitely still make this recipe, your dough may just be a bit more textured)
- Next add in chunks of butter (roughly chopped, doesn't have to perfect) and pulse a few times until the butter chunks are a bit smaller and coated with flour but still visible. (again doesn't have to be perfect, if you don't have a food processor, just chop the chunks ~1/8th of an inch thick and and stir them into your dry ingredients).
- Dump this mixture into a bowl and add your cold water and egg white. Mix with a spoon until a rough dough forms.
- Press the dough together and knead it a few times until it starts to stick together (you don't want the butter chunks blended in but you also want the dough to hold together without crumbling and have a smoother surface).
- Press the dough into a rough ball shape, wrap it in Saran Wrap and place in the fridge for 30min.
- Next unwrap your dough and roll it out flat between two sheets of parchment paper. (Flour your parchment and rolling pin lightly with coconut flour, repeat this whenever needed, alternatively for the vital wheat gluten version you can use that to flour your surface)
- Fold each side of the dough inward (see photo), then turn the dough 90* and roll it out flat, squishing down the folded layers you just made. Then once again, fold each side inwards, turn 90* and roll it out flat. You want to repeat this 4-5 times to ensure layers of butter are spread throughout the dough. It will start off very rough looking but don't worry about that! Just push the rough edges in a bit and continue repeating the process until it looks more uniform. ( If at any time your dough feels warm, place it back in the fridge or freezer for a bit to get cold again. You don't want your butter to melt).
- After you've rolled the dough out 4-5 times following step 7, fold it once more, Saran Wrap it and place it back in the fridge for another 30min.Keto Pastry Dough After Rolling and Folding 4-5 Times
- Pre-heat your oven to 400*F.
- Roll the dough out again, it will be a bit thick at this point. I usually cut the dough in half and place half, wrapped, back in the fridge so I only have to work with one piece at a time. This makes rolling it thin much easier!
- Next, cut circles of dough using a large mug. Punch it down and twist to make an even cut. Place the cut-outs on a baking sheet lined with parchment paper. Repeat this process with the other half of your dough in the fridge and then taking the scraps of your dough and rolling them out again to make more circles.
- Place a small amount of mozzarella, parmesan and sauce in the middle of each circle and then take one half of the circle and fold it in half. Press down the edges with your fingers first then use a fork and do the same.
- Cut 3 very small slits into the top of each pocket to let the air escape. Brush them with an egg wash (optional, just 1 egg mixed whisked with 1 tbsp water) and bake them for 18-22min or until they are browned and crispy. (Note: my oven typically takes longer than the average oven and mine baked for 21min)
- Serve them hot with extra pasta or pizza sauce for dipping! (They are also great with ranch dip...) Enjoy!
Notes
- Make sure you pinch the edges of the pockets well and don't over-do the sauce or you'll end up with some leakage! I serve these with extra sauce instead!
- You’ll notice the dough will want to fall apart in chunks at first. This is why the dough must be kneaded a few times. Once you do so, the dough will come together nicely and will roll out much better! Just be sure not to melt or blend in all of your butter when kneading it.
- Your dough should seem a little dry at first but once you get rolling it, the butter chunks should moisten it more. If you find your dough still very dry, you can sprinkle a bit of cold water on it as needed to add moisture OR alternatively if you find it too wet, sprinkle coconut flour as you are rolling and folding it.
- If your dough rolls out messy and looks rough at first, that’s completely fine, sprinkle flour as needed and continue to follow the folding instructions. It will start to smooth out more after each layer. You can also push in rough edges slightly before rolling to help it come together.
- The gluten free pastry will brown more in the oven than typical pastry but that’s okay! It will still be delicious. It’s just the colour of the psyllium husk added.
Other Similar Recipes You May Like:

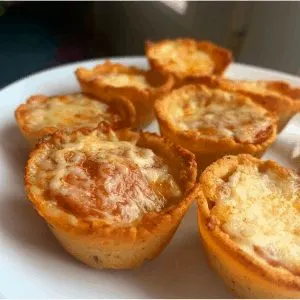
Keto Pizza Bites
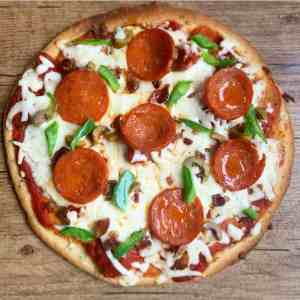
Quick Keto Pizza Crust


The Best Low Carb Pizza Crust

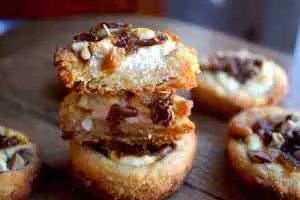
Keto Goat Cheese Tartlets