

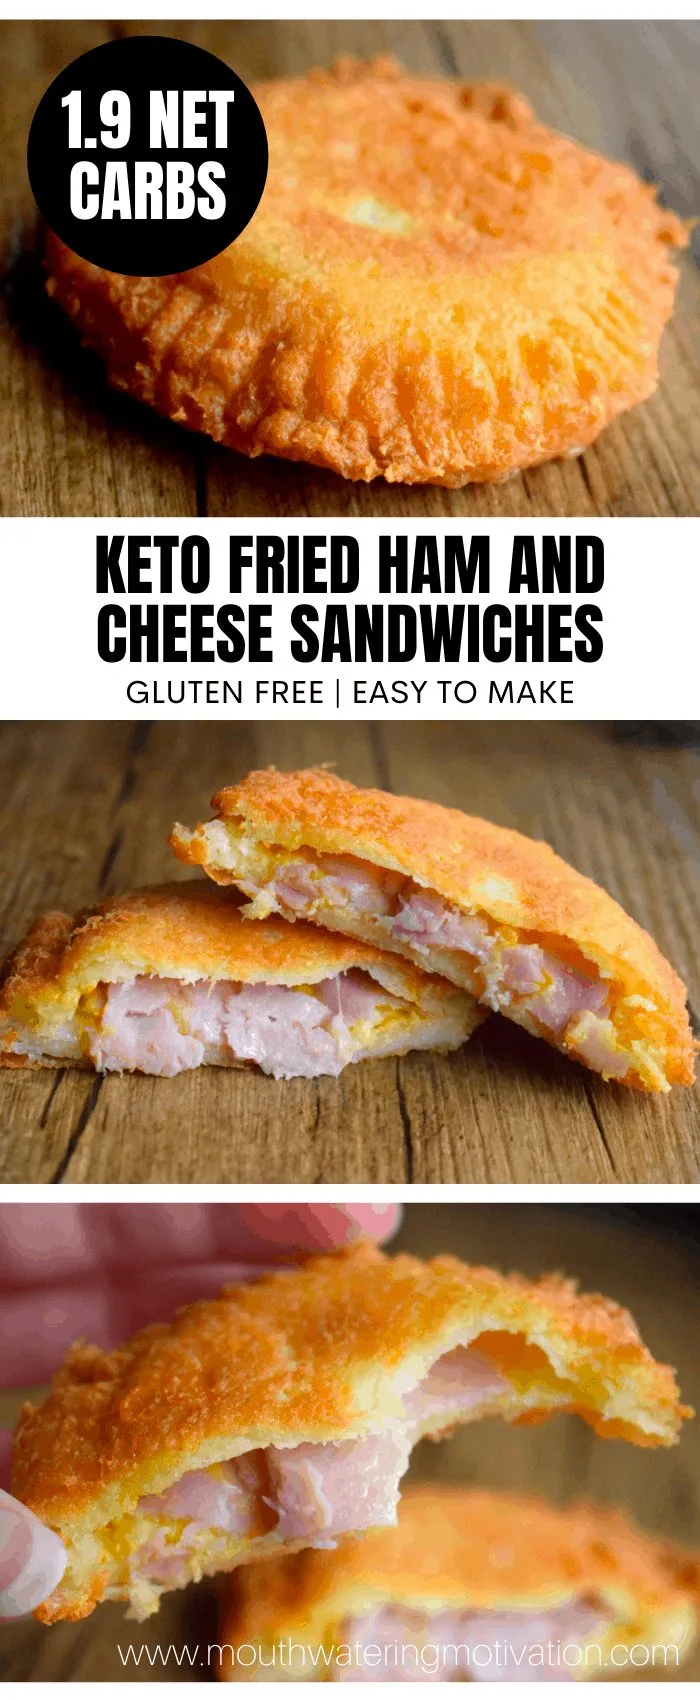
 Keto Fried Ham and Cheese Sandwiches..WOW these are good.
If you haven't already seen my “Keto Fried Peanut Butter and Jelly Sandwiches” then go check those out as well.
Lately I've been on a roll with frying things in coconut oil and man has it been a tasty process. These Keto Fried Ham and Cheese Sandwiches are something you'll dream about days later.
They are SO GOOD. I don't know how to explain it better. They just are.
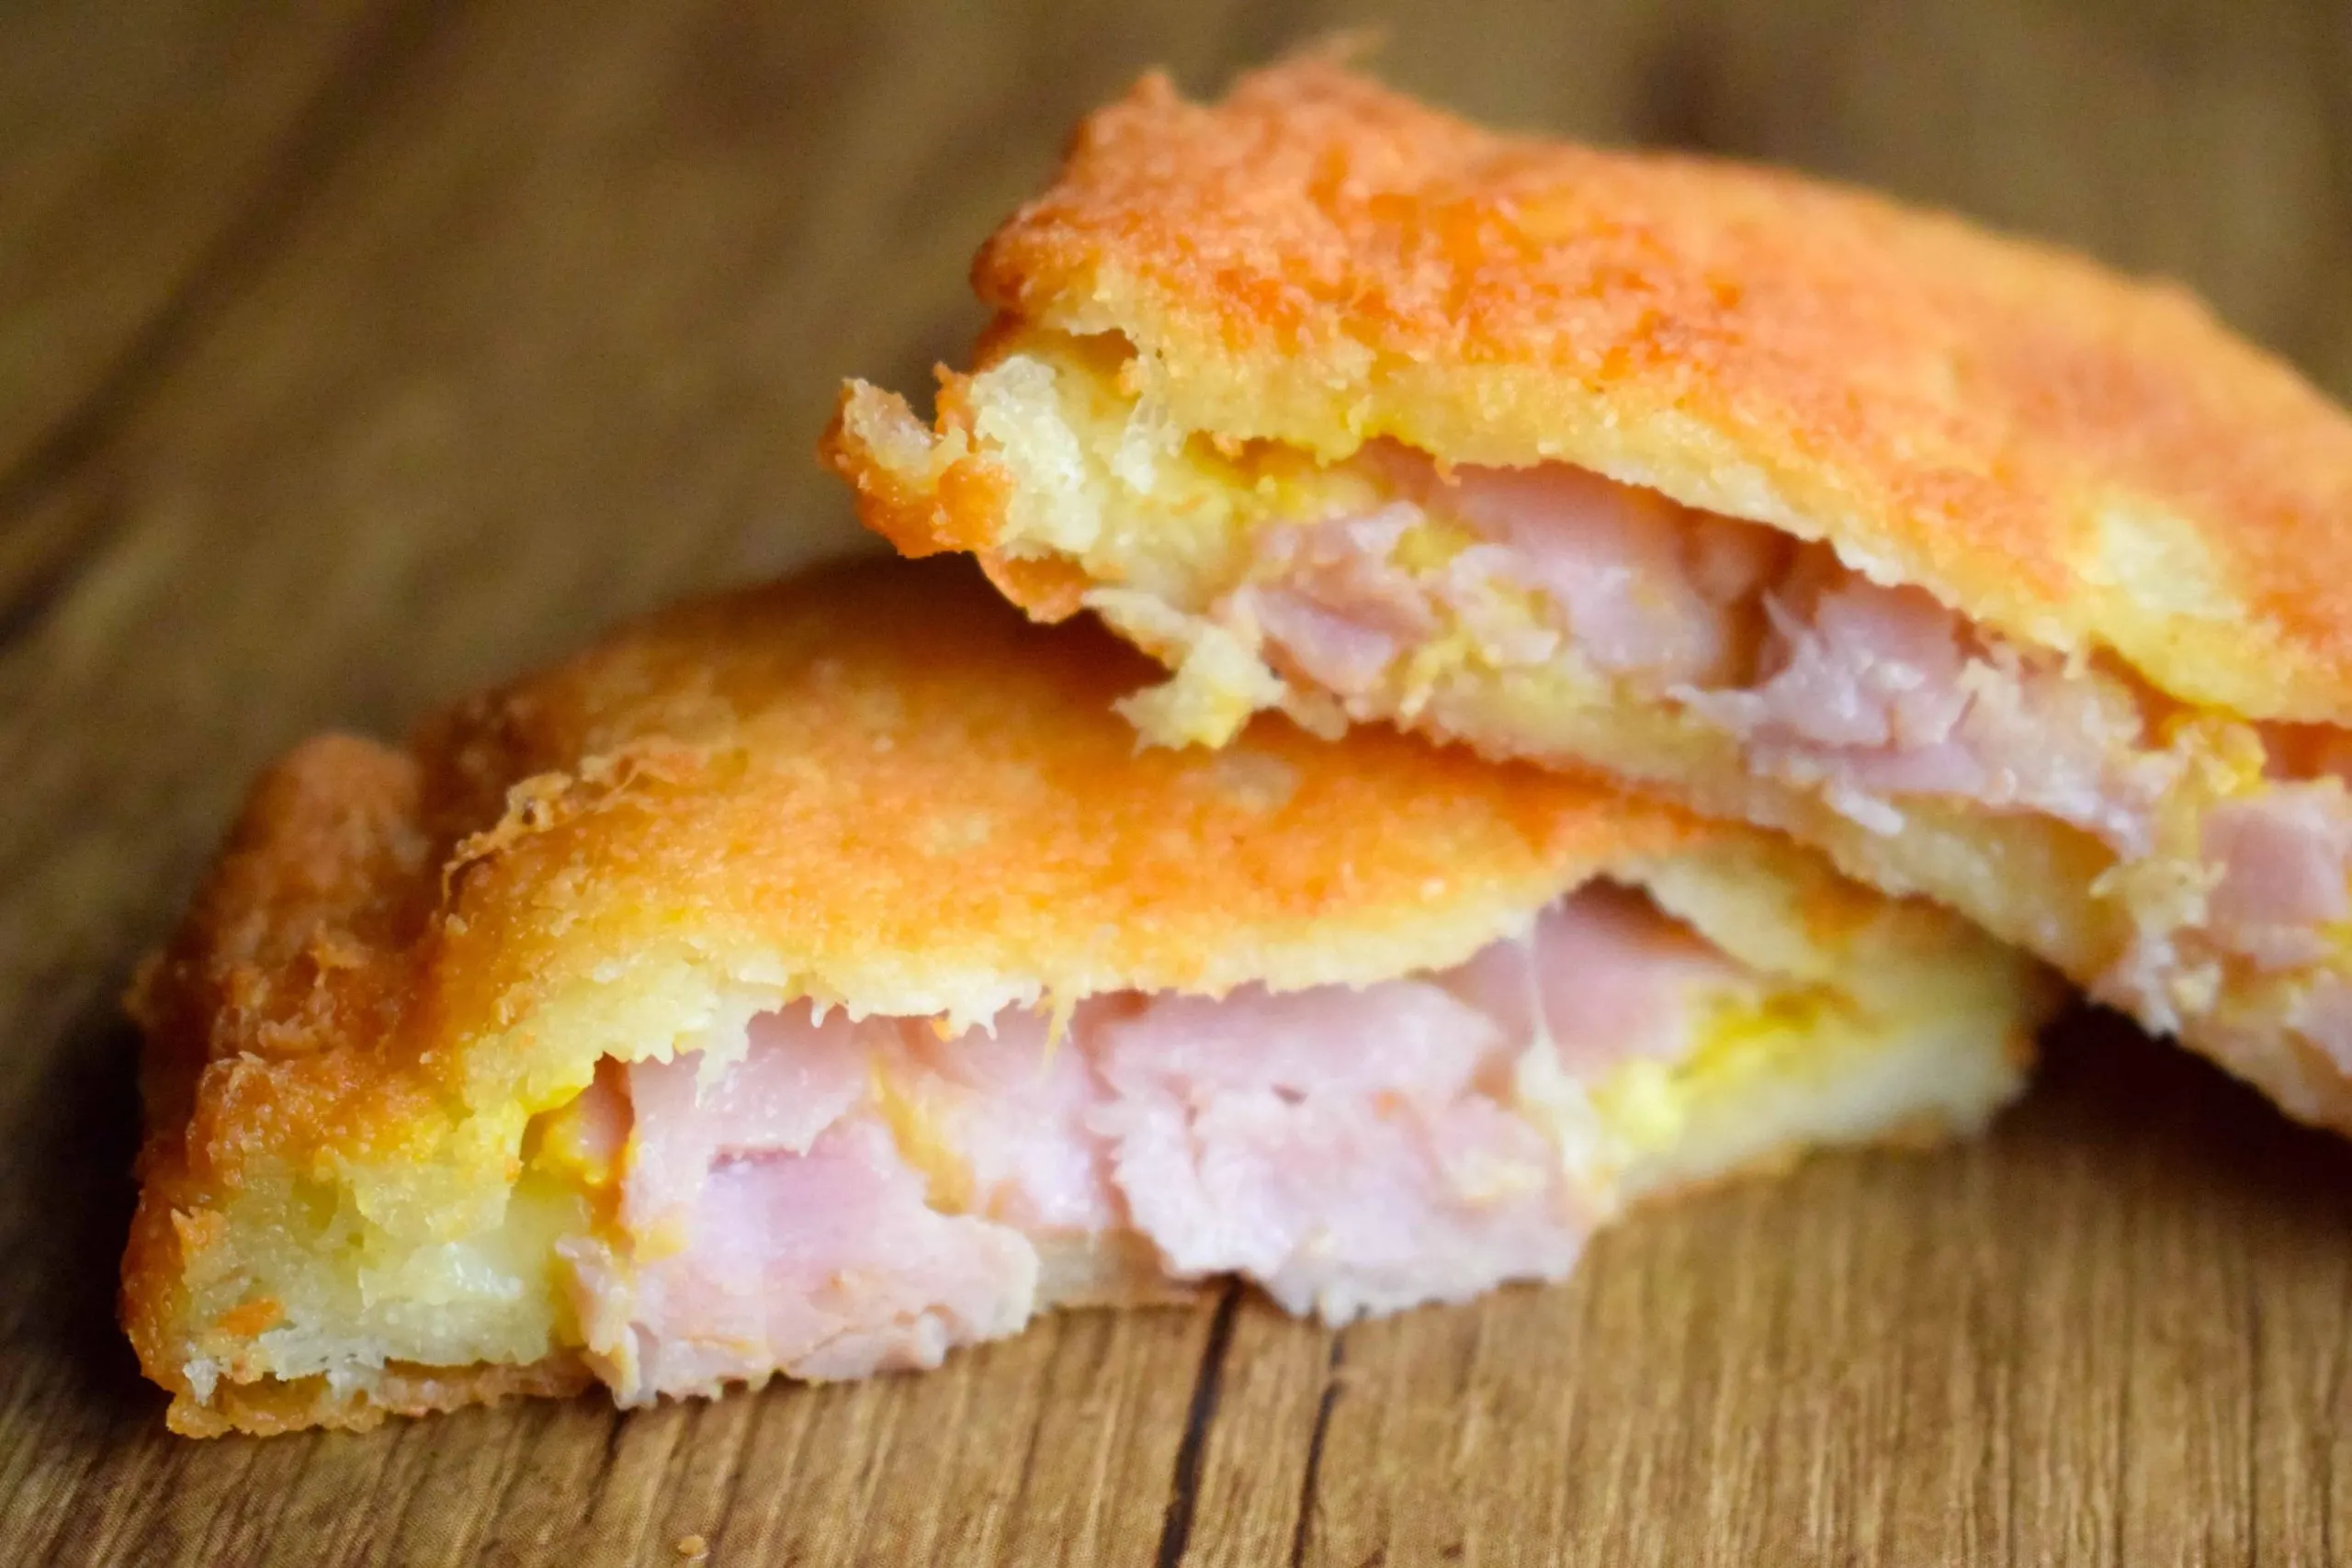
Fried golden and crispy fat head dough surrounding a delicious filling of melty havarti cheese and ham with that little bit of flavour coming from the mustard or mayo…OMGSGSFVDXX..
I'm literally drooling as I write this.
This is a recipe that your non-keto friends will ask you for. Actually no, they will BEG you for because these are so dang yummy.
If you still don't believe me, make them for yourself and report back. I guarantee you will not be disappointed!
Ingredients in Keto Fried Ham and Cheese Sandwiches
- Xanthan gum – a great way to improve elasticity in gluten-free baked goods. It’s used alongside vital wheat gluten to provide the best possible “crust-like” texture. If you do not have this ingredient you can still go ahead with this recipe but I’d recommend it if you can get your hands on it.
- Almond & Coconut Flour – I use the Kirkland Costco brand of almond flour (I buy it in bulk on Amazon or at Costco itself occasionally) and this brand of coconut flour for this recipe. As I’ve noted in many of my past recipes, the brand of almond and coconut flour can affect the final outcome of the recipe because absorbency can vary depending on how the flour has been processed.
- Mozzarella – Seems odd but it works just as it does in fat head dough to give an elastic traditional gluten-like texture to the dough. It also tastes delicious fried!


Tools I Used To Create Keto Fried Ham and Cheese Sandwiches
- Low Carb Substitution Guide – This is totally optional but if you like my recipes, I now have a $5 guide available with all of the substitutions I use to create every recipe on my site. You can use this to convert old traditional recipes and create new keto recipes! You can purchase it here and/or read more if you are interested. 🙂 I appreciate your support so much guys!
- Nutritional Food Scale – AKA my best friend. This little buddy has been with me for over 4 years and never fails. Perfect measurements and only needs the batteries replaced maybe once a year!
- Non-Stick Rolling Pin – Perfect for rolling out your dough neatly and without sticking!
- Cooking Thermometer – Super important for achieving the perfect temperature of oil. I cannot recommend one of these enough!


Tips For Making Keto Fried Ham and Cheese Sandwiches
- When making these, having your oil the right temperature is very important! If it gets too hot, the outside of your dough will cook super fast and get brown before the inside has a chance to cook. Alternatively, if your oil is too cold, your dough will cook slowly and absorb too much oil. A perfect temperature is between 350*-375* and creates a beautiful golden fried shell!
- Make sure these are sealed before frying them! Don’t miss any edges when pinching the dough together with your fingers and fork.
- Remember, this is a fried item and is best served HOT, if you want to eat them later, you can but I’d recommend re-heating them on a baking sheet in the oven to get them crispy again


Keto Fried Ham and Cheese Sandwiches
Serves: 5
Ingredients:
- 1 1/4 cup mozzarella, 140g / 5oz
- 1/2 cup + 2 tbsp almond flour, 70g / 2.5oz
- 1 egg, room temperature, whisked
- 1/2 tsp baking powder
- 1/2 tsp xanthan gum (optional)
Fillings
- 1 1/2 – 2 slices of havarti cheese broken into pieces, 30-40g (alternatively you could shred your own, I use jalapeño havarti)
- 2-3 thin slices of black forest ham torn into pieces (~25-35g)
- Mustard or Mayo
- 2 1/2 cups coconut oil for frying, 300g
Directions:
- In a small bowl, whisk together your almond flour, baking powder and xanthan gum. Set aside.
- In another microwavable bowl, melt your mozzarella in 30s increments until you can easily stir it (it took about 1 1/2 min for me in total).

- Add your already whisked egg and your dry ingredients to the melted mozzarella and stir very well until a dough starts to form. At first the mozzarella may not completely stick to the other ingredients. This is okay, just begin to knead the dough like you would bread dough until the mozzarella is incorporated.


- If the mozzarella still doesn’t want to blend into the other ingredients after a minute or two of kneading, place everything back in the microwave for 10-15s and then knead the dough again. Repeat this as needed until all ingredients are incorporated well and you can form a nice clean ball.
- Roll out your ball of dough between two sheets of parchment paper about 1/8th of an inch thick. (Thin but still thick enough so it won’t fall apart easily)

- Next take a glass or coffee mug and press it into the dough, rotating back and forth a few times and removing to cut circles. Cut 10 circles in total. (Take the dough scraps, put them back together and roll them out again to cut more circles).

- At this time, you can also heat up your oil in a large wok or skillet to ~350* (anywhere between 350* and 375* is okay).
- Back to the dough, evenly disperse the cheese between the middles of 5 of your circle cut-outs then top with the ham and a few dots of mustard or mayo (you can also gently spread the mayo or mustard over the middle first to make it easier)


- Next take a circle of dough that doesn’t have filling and place it on top of one that does. Pinch the edges of both together using your fingers and then use a fork to fully seal them (I like to flip my sandwiches over and check that the under-side is also sealed well). Repeat this process for the rest of your pieces of dough.


- Once your oil is at the correct temperature, set some paper towel aside on your counter and a wire rack for cooling your sandwiches.
- To begin frying, gently place your sandwiches into the hot oil (I like to do two at a time). Cook for 1min to 1min 30s per side, flipping with a two forks. (You can usually tell when a side is down because it will start to form large air pockets/bubbles and turn golden brown).


- Once the sandwiches are golden brown on both sides, you can remove them and set them on the paper towel to drain the excess oil and then onto the wire rack. Repeat this process with the remaining sandwiches. Then enjoy your fried ham and cheese sandwiches! (These are best served hot but you can also refrigerate the sandwiches and re-heat them in an oven on a baking sheet until crisp again).


Nutrition For one of the Fried Ham and Cheese Sandwiches (1/5th of recipe): 195 calories | 15.8g fat | 1.9g NET carbs | 10.4g protein | 0.8g fibre
Disclaimer: this post contains some affiliate links
Keto Fried Ham and Cheese Sandwiches
Easy keto ham and cheese sandwiches fried in coconut oil until golden brown and delicious!
Dough
- 1 1/4 cup mozzarella (140g / 5oz)
- 1/2 cup + 2 tbsp almond flour (70g / 2.5oz)
- 1 egg (room temperature, whisked)
- 1/2 tsp baking powder
- 1/2 tsp xanthan gum (optional)
Fillings
- 1 1/2 – 2 slices of havarti cheese broken into pieces (30-40g (alternatively you could shred your own, I use jalapeño havarti))
- 2-3 thin slices of black forest ham torn into pieces (~25-35g)
- mustard or mayo
- 2 1/2 cups coconut oil for frying (300g)
- In a small bowl, whisk together your almond flour, baking powder and xanthan gum. Set aside.
- In another microwavable bowl, melt your mozzarella in 30s increments until you can easily stir it (it took about 1 1/2 min for me in total).
- Add your already whisked egg and your dry ingredients to the melted mozzarella and stir very well until a dough starts to form. At first the mozzarella may not completely stick to the other ingredients. This is okay, just begin to knead the dough like you would bread dough until the mozzarella is incorporated.
- If the mozzarella still doesn’t want to blend into the other ingredients after a minute or two of kneading, place everything back in the microwave for 10-15s and then knead the dough again. Repeat this as needed until all ingredients are incorporated well and you can form a nice clean ball.
- Roll out your ball of dough between two sheets of parchment paper about 1/8th of an inch thick. (Thin but still thick enough so it won’t fall apart easily)
- Next take a glass or coffee mug and press it into the dough, rotating back and forth a few times and removing to cut circles. Cut 10 circles in total. (Take the dough scraps, put them back together and roll them out again to cut more circles).
- At this time, you can also heat up your oil in a large wok or skillet to ~350* (anywhere between 350* and 375* is okay).
- Back to the dough, evenly disperse the cheese between the middles of 5 of your circle cut-outs then top with the ham and a few dots of mustard or mayo (you can also gently spread the mayo or mustard over the middle first to make it easier)
- Next take a circle of dough that doesn’t have filling and place it on top of one that does. Pinch the edges of both together using your fingers and then use a fork to fully seal them (I like to flip my sandwiches over and check that the under-side is also sealed well). Repeat this process for the rest of your pieces of dough.
- Once your oil is at the correct temperature, set some paper towel aside on your counter and a wire rack for cooling your sandwiches.
- To begin frying, gently place your sandwiches into the hot oil (I like to do two at a time). Cook for 1min to 1min 30s per side, flipping with a two forks. (You can usually tell when a side is down because it will start to form large air pockets/bubbles and turn golden brown).
- Once the sandwiches are golden brown on both sides, you can remove them and set them on the paper towel to drain the excess oil and then onto the wire rack. Repeat this process with the remaining sandwiches. Then enjoy your fried ham and cheese sandwiches! (These are best served hot but you can also refrigerate the sandwiches and re-heat them in an oven on a baking sheet until crisp again).
Tips For Making Keto Fried Ham and Cheese Sandwiches
- When making these, having your oil the right temperature is very important! If it gets too hot, the outside of your dough will cook super fast and get brown before the inside has a chance to cook. Alternatively, if your oil is too cold, your dough will cook slowly and absorb too much oil. A perfect temperature is between 350*-375* and creates a beautiful golden fried shell!
- Make sure these are sealed before frying them! Don’t miss any edges when pinching the dough together with your fingers and fork.
- Remember, this is a fried item and is best served HOT, if you want to eat them later, you can but I’d recommend re-heating them on a baking sheet in the oven to get them crispy again
Other Similar Recipes You May Like:
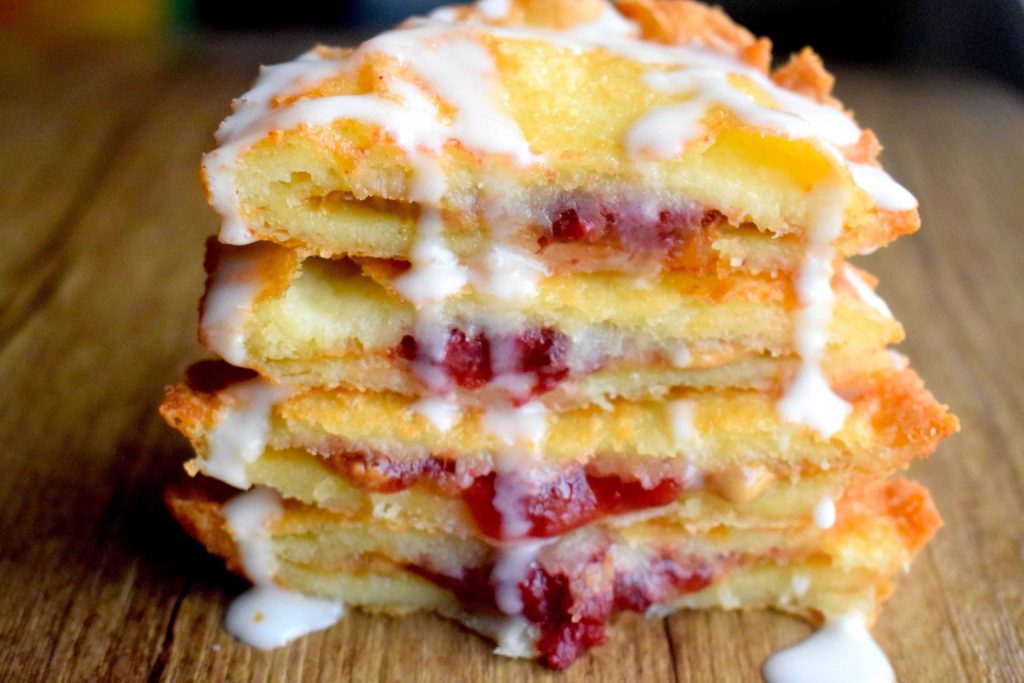

Keto Fried Peanut Butter and Jelly Sandwiches


Keto Apple Fritters


Keto Red Pepper and Cream Cheese Pinwheels
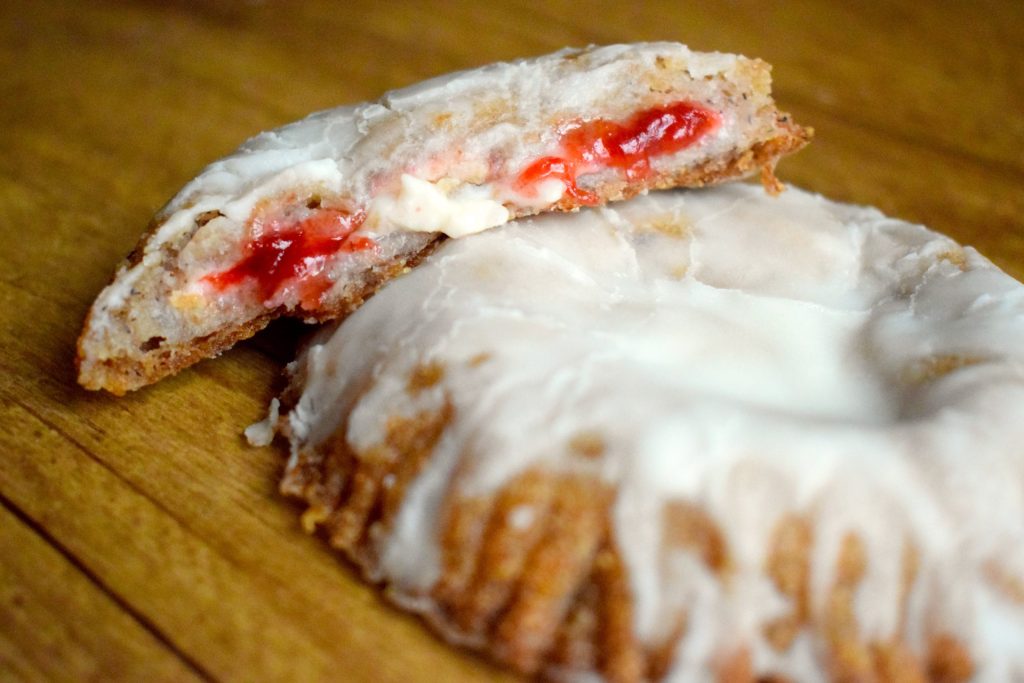

Strawberry and Cream Cheese Hand Pies
